|
Carbon
steels
Stainless mainstream (e.g. kitchen & butcher knife)
High-end
and tool steels
Ceramic
Folding
knife
Japanese single-bevel
Cleaver
Convex
blade
Concave & Recurve
blade
Straight
edge, sheepsfoot
Serrated knife
Scissors
Hatchet, tomahawk & axe >
|
Hatchet, tomahawk, carpenter’s & felling axe
Axes out of
our workshop are shaving sharp.
"Convex" in this procedure refers to the blade shape and edge line, not the edge profile. Obviously, it is impossible to grind an edge of convex profile on a wheel - the wheel will always give a somewhat concave profile. Grinding on the wheel is OK for hatchets, carpenter's axe and felling axe, but not good for the splitting axe.
Measure the
existing edge angle with AngleMaster, if ordered to reproduce.
Our
default for hatchets, tomahawks & carpenter's axes is 25 degrees included, but you can specify any edge angle.
Put on the Universal
Support a locking collar, axe jig, and another locking collar.
Center the
jig over the stone, and fix in place with the collars.
Center the
hatchet in the jig - the edge center, not the butt.
The hatchet
should sit in the axe jig with its lower surface flat to the lower jig
jaw (not as shown in the Tormek manual).
Set the
grinding angle using AngleMaster.
Shape the
bevel on an Aluminium Oxide wheel SG-250, grit 220.
Pressing
the hatchet blade flat to the lower jig jaw and down to the stone, grind
with pendulum-like passes by moving its handle with another hand so that
the convex of the edge passes along the imaginary line across the edge through
the farthest point of the blade apex; maintain the edge contact with the
stone by raising or lowering the handle.
Having ground
the bevel, measure the actual edge angle to see if the angle is
the desired one. If you need a more acute edge angle, lower down the US
support till you see a gap between the stone and the edge, and continue
grinding.
Change to
the 10” Japanese wheel, grit 1200 (JIS 800).
Adjust the US
height as needed to continue at the same angle.
Grind as
above.
Continue
alternating sides of the blade, doing 2 gliding passes on each side x 2,
and then a single gliding pass.
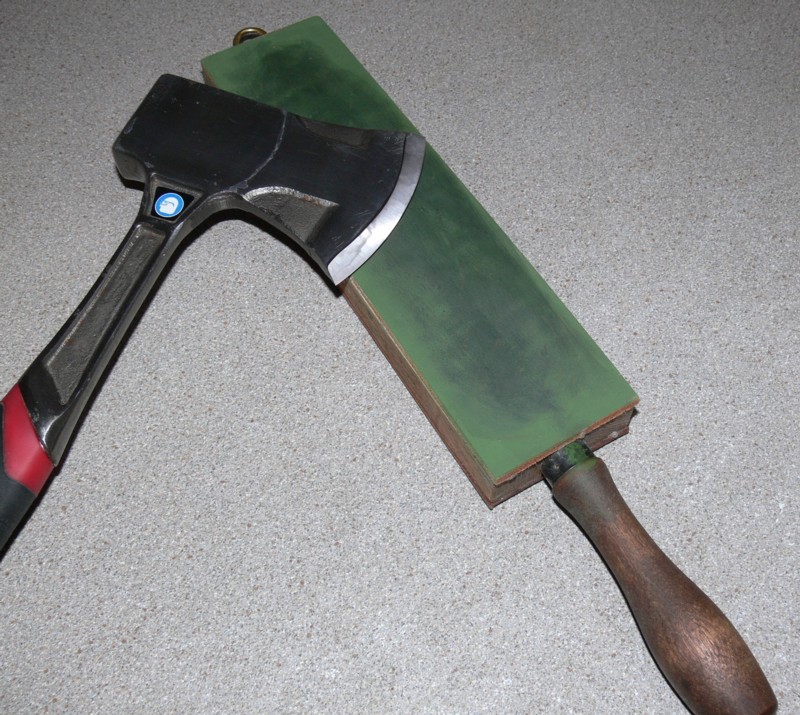
Finish by stropping.
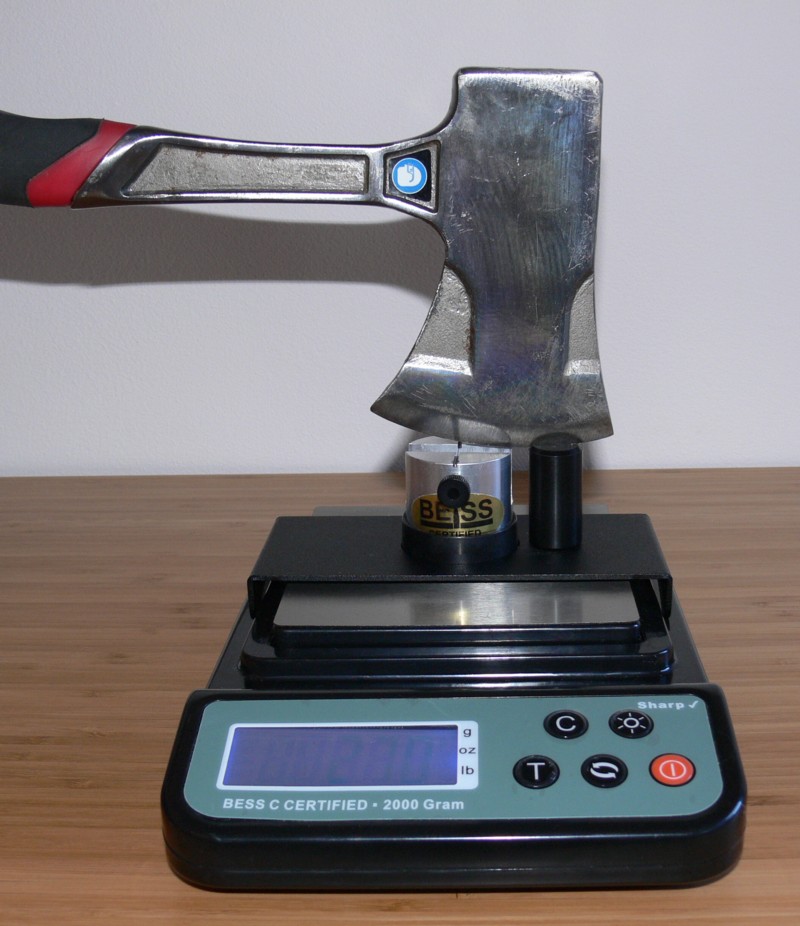
Test
sharpness.
|
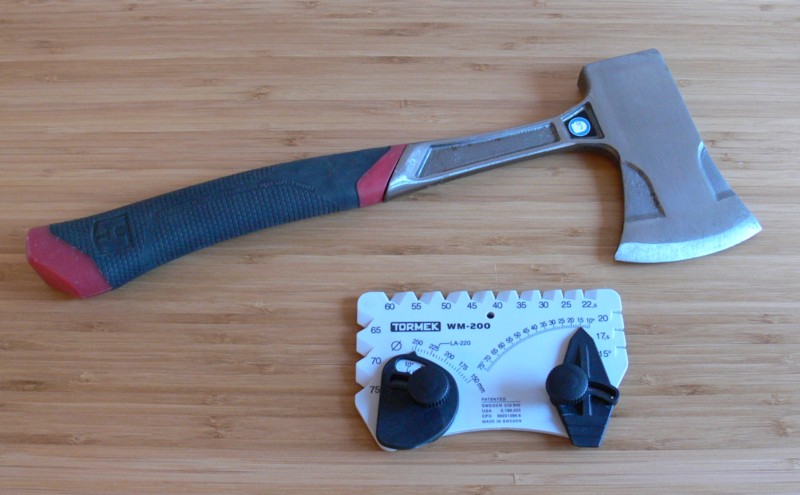
Measure
the existing edge angle with AngleMaster, if ordered to reproduce.
Our default for hatchets, tomahawks & carpenter's axes is 25 degrees included, but you can specify any edge angle.
|
|
|
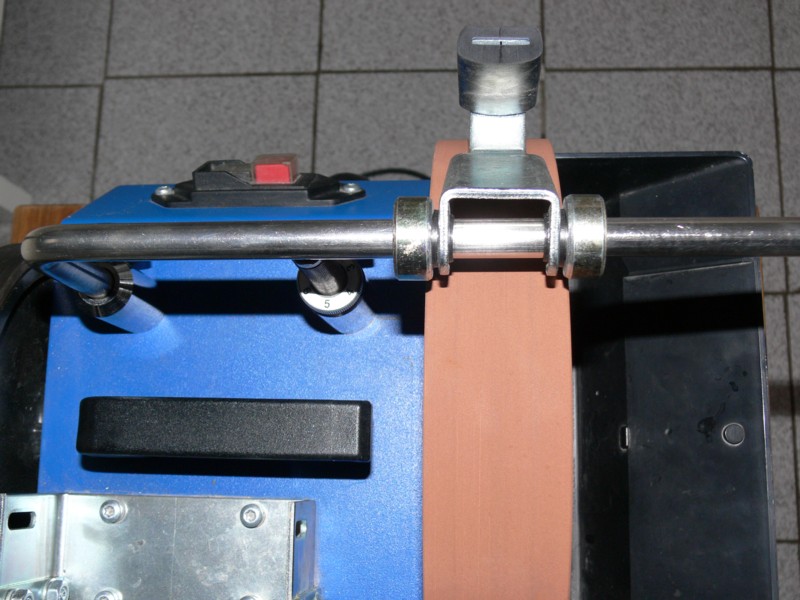
Put on
the Universal Support a locking collar, axe jig, and another locking
collar.
Center
the jig over the stone, and fix in place with the collars.
|
|
|
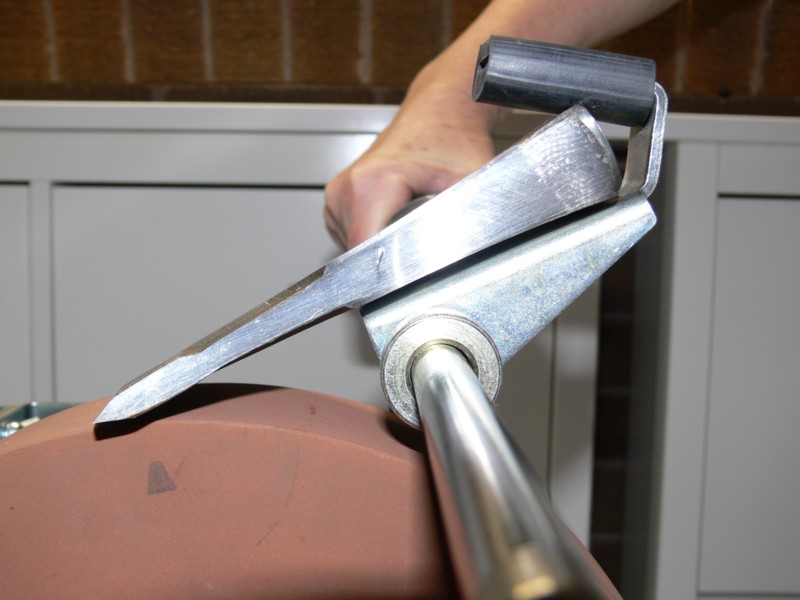
Center the
hatchet in the jig - the blade center, not the butt.
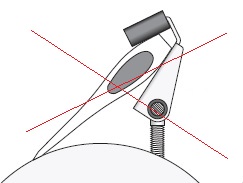
The
hatchet should sit in the axe jig with its lower surface flat to the
lower jig jaw (not as shown in the Tormek manual).
Set the
grinding angle using AngleMaster.
|
|
|
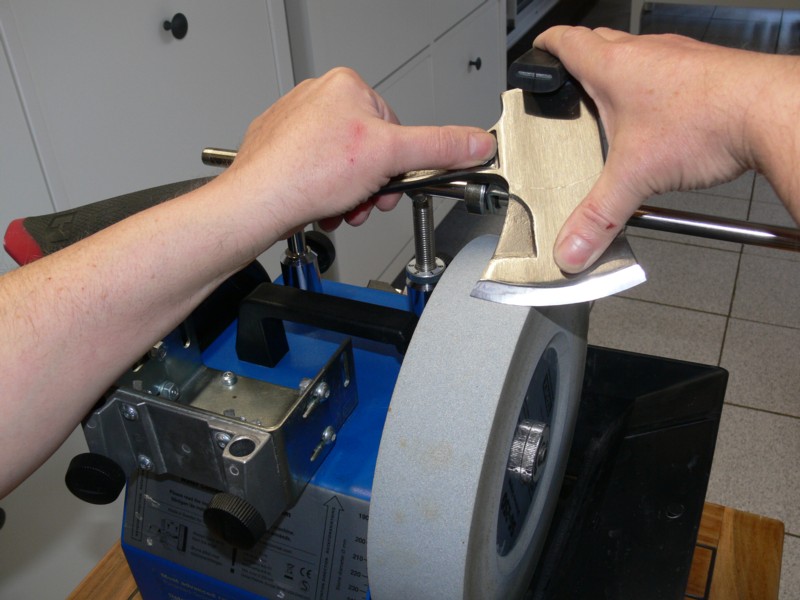
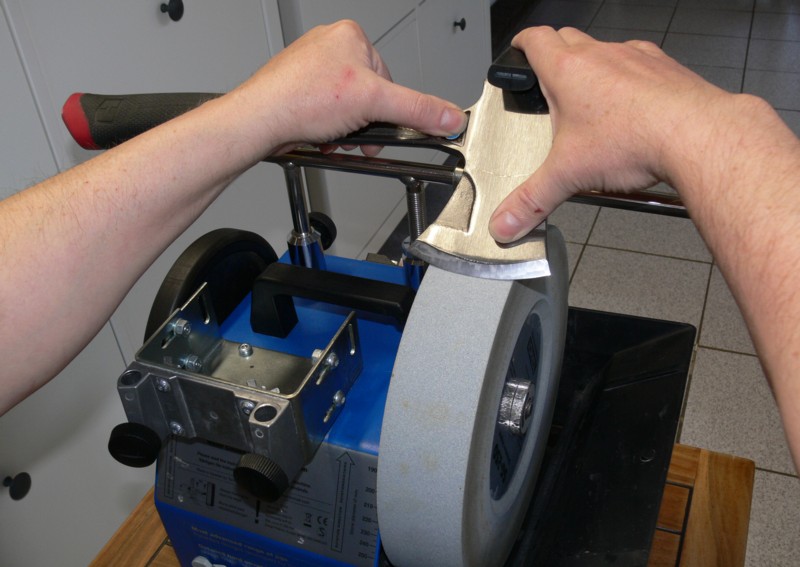
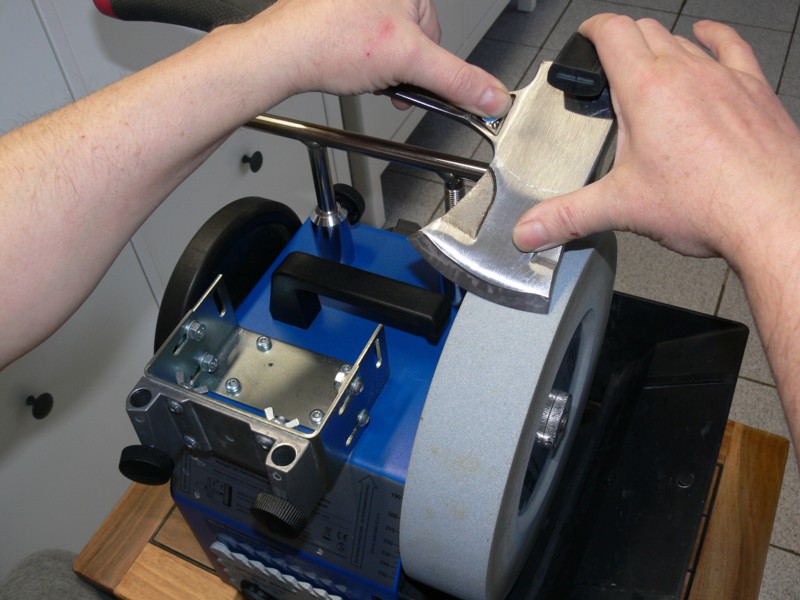
Shape the
bevel on an Aluminium Oxide wheel SG-250, grit 220.
Pressing
the hatchet blade flat to the lower jig jaw and down to the stone,
grind with pendulum-like passes by moving its handle with another hand
so that the convex of the edge passes along the imaginary line across the edge
through the farthest point of the blade apex; maintain the edge contact
with the stone by raising or lowering the handle.
Having ground
the bevel, measure the edge angle to see if the actual angle
is the desired one. If you need a more acute edge angle, lower down the
US support till you see a gap between the stone and the edge, and
continue grinding.
|
|
|
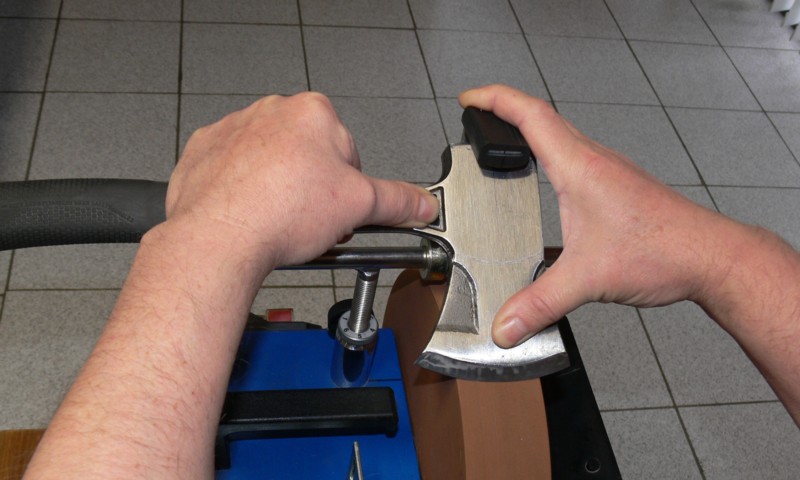
Change to
the 10” Japanese wheel, grit 1200 (JIS 800).
Adjust the US height as needed to continue at the same angle.
Grind as
above.
Continue
alternating sides of the blade, doing 2 gliding passes on each side x
2, and then a single gliding pass.
|
|
|
Finish by
stropping.
|
|
|
Test
sharpness.
|
|
|